Hot Yoga Pet Carrier Comparison: Heat & Odor Tested
2nd May•8 min read
Choosing the right pet photography carrier means matching human ergonomics with your pet's stress tolerance and your route's real-world constraints. Whether you're commuting to a photo session venue, traveling between locations, or meeting clients at unfamiliar airports, the carrier shapes your entire day, including your shoulders, your schedule, and whether your pet arrives calm or frazzled.
Pet photographers, foster networks, and frequent vet visitors often overlook one truth: the carrier isn't secondary gear, it is part of your toolkit. A poorly fitted or ergonomically mismatched carrier exhausts you before the session starts, makes your pet more anxious (which translates to stiff poses and closed eyes), and creates logistical friction at boarding gates, reception desks, and vehicle transitions.
After a cross-town commute carrying a 16-pound cat in a shoulder tote, my hands went numb and my neck protested for days. The real shift came when I moved to a structured backpack with load lifters and a hip belt. What changed wasn't just comfort, it was capacity. Comfort is capacity you actually use for miles.
For professionals managing multiple pets or long commutes between appointments, the distinction between carrier types is not cosmetic. It directly affects mobility, speed through terminals or clinic hallways, pet compliance, and your ability to operate a camera or paperwork once you arrive.
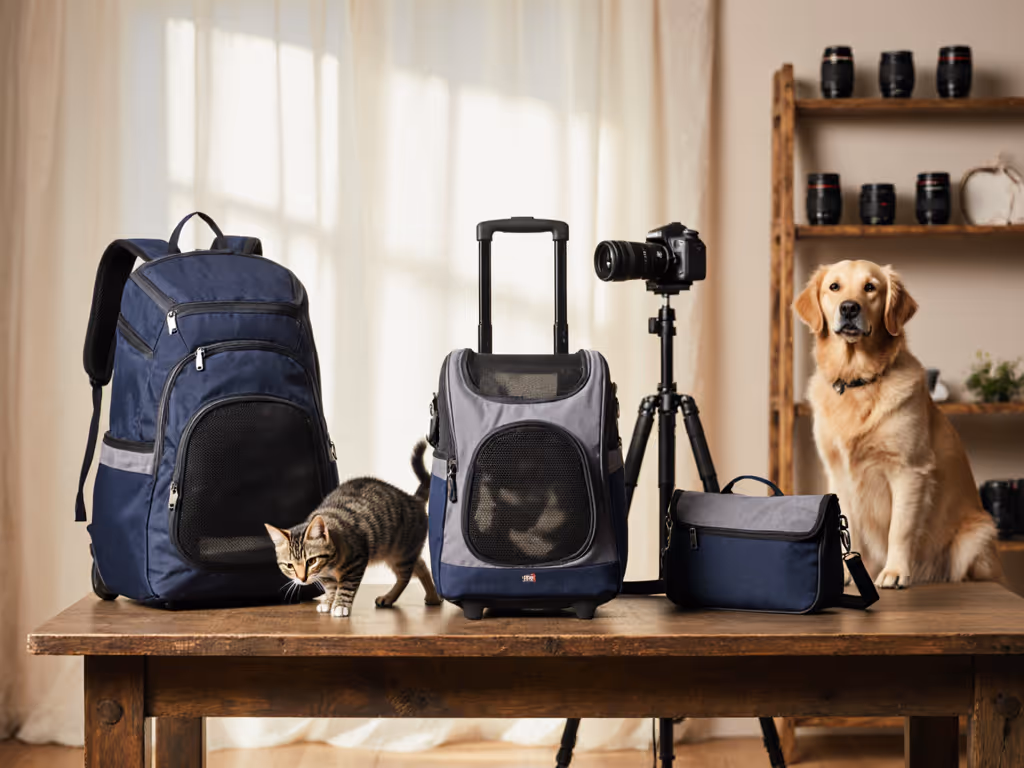
Structured backpack carriers excel for professionals who need both hands free and who navigate stairs, curbs, and unpredictable terrain. They distribute weight across your hips and shoulders rather than concentrating load on one shoulder (which triggers the tingling, numb-hand pattern seen in single-strap designs).
Anatomy of a load-bearing backpack:
Fitment checklist for backpack carriers:
Ideal use cases:
Wheeled carriers (often called "roller" or "trolley" models) are game-changers for airport transit, clinic waiting rooms, and long horizontal distances on flat terrain. They eliminate the carry load entirely, shifting effort to wrist and arm guidance instead of spinal loading.
When wheels become a liability:
Trolley-compatible carrier features:
Measurement protocol for rolling carriers:
Most manufacturers spec interior dimensions (length × width × height) in inches. Measure your pet in the poses it will hold during a 2-4 hour session:
Add 2-3 inches of clearance in each dimension to allow posture shifts and prevent the pet from feeling compressed.
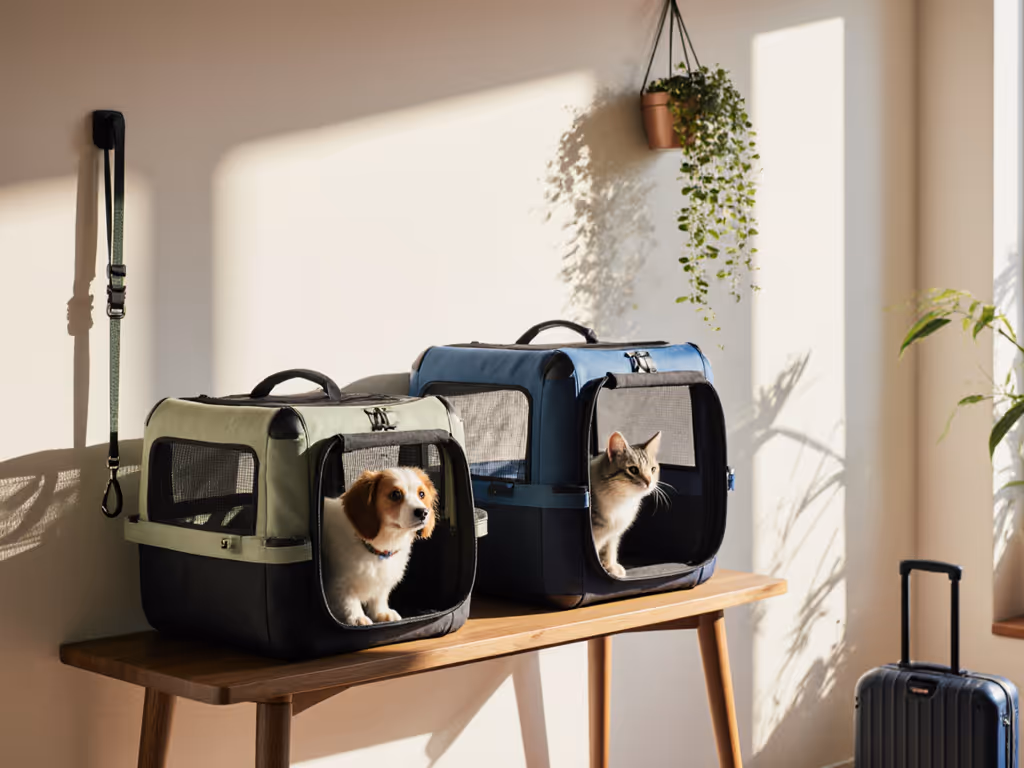
Soft-sided shoulder carriers and slings are the lightest option and pack down to briefcase size, making them beloved by digital nomads and frequent flyers managing tight cabin restrictions. However, they're best suited for pets under 10 pounds and trips under 30 minutes.
The ergonomic reality:
A 12-pound load on one shoulder creates a 12-pound downward force at a single point. Over 20 minutes, this compresses the trapezius muscle, reduces blood flow to your arm, and can trigger tingling in your fingers. Over hours, it accelerates postural compensation: your body hunches to distribute the load, leading to neck and lower-back pain days later.
When shoulder carriers work:
Avoid single-strap designs for:
Professionals need carriers that open fast and smoothly. A pet anxious from a car ride calms faster if you can remove it quickly without struggling with zippers or latches. Look for:
In an industry where your gear appears in client photos and your own marketing, carrier aesthetics matter. For photogenic, quick-access options, see our stylish carriers for photo pros. Modern, minimal designs in neutral tones (gray, tan, charcoal) read as professional and don't overwhelm compositions. Avoid:
If you're using a carrier 4-5 times weekly, hardware and seams bear real stress. Prioritize:
The best carrier for you depends on your daily commute pattern and pet load. Here's how the three types stack up:
| Scenario | Backpack | Roller | Shoulder |
|---|---|---|---|
| Walking 20+ min, multiple stops | Excellent | Poor (stairs) | Fair (pain risk) |
| Airport or clinic rolling distance | Good | Excellent | Poor |
| Car transport to appointment | Good (safety) | Poor (not crash-tested) | Fair |
| Pet weight 15+ lbs | Excellent | Excellent | Poor |
| Pet weight 6–10 lbs | Good | Good | Excellent |
| Need both hands free | Excellent | Fair (steer required) | Good |
| Compact storage at home | Fair | Poor | Excellent |
| Airline cabin compliance | Good (if soft-sided) | Good (hard-sided) | Excellent |
| Price range (USD) | $80-$200 | $120-$300 | $50-$120 |
Route: Subway + walk-ups + mixed stops. Pet: 14-lb cat. Frequency: 3× weekly.
Recommendation: Backpack carrier with hip belt and load lifters.
Why: The subway requires compact vertical stacking (a roller is impractical and unwelcome on crowded trains). For exact size rules and discreet designs, consult our subway compliance guide. Stairs and walk-up studios are frequent. A hip-belt backpack keeps your hands free for your camera bag and reduces shoulder strain over hours of commuting. Choose a soft-sided, collapsible pack that shrinks when empty, and store it at home or in your studio.
Test the stairs, not just the sidewalk. Load the carrier, walk up a full flight, and assess whether you're leaning forward (red flag) or standing upright.
Route: Car to airport, flight, rental car, hotel. Pet: 9-lb dog. Frequency: Biweekly.
Recommendation: Hard-sided roller carrier for air and terminal transit + soft-sided backpack for car and hotel.
Why: The roller excels for airport corridors and trolley compatibility. Hard-sided meets most cabin restrictions. However, hard-sided carriers are not crash-tested, so for the car portion, transfer to a soft-sided backpack that can be secured with a seat belt. For vehicle best practices and certified picks, use our crash-tested carrier checklist. This dual-carrier approach is less economical upfront but eliminates the gate-denial risk and gives your pet better comfort in both modes.
Route: Car + clinic waiting room + home (frequent, varied pets). Pets: Rotating fostered cats/small dogs. Frequency: 2-4 visits weekly across different animals.
Recommendation: One versatile backpack carrier (collapsible, soft-sided) + one shoulder sling for quick clinic trips.
Why: Foster work often involves multiple animals at different comfort and stress levels. A structured backpack works for the anxious, larger foster; a lightweight sling is fast for quick check-ups with calm, smaller pets. The backpack's removable, washable liner is critical because you'll encounter accident-prone fosters. Compact storage allows you to keep both ready without hogging space.
Incorrect sizing is the #1 reason for returns and failed transitions. Before purchasing, measure your pet accurately:
Length measurement (key metric for most carriers):
Height at withers (top of the shoulder blade):
Chest girth (around the deepest part of the ribcage):
Cross-reference the carrier's stated interior dimensions with these three measurements, adding 2-3 inches for comfort and movement. If the carrier specs don't align or are vague, contact the manufacturer for clarification before checkout. For airline cabin rules and dimension charts, check our airline-approved carrier guide. A few minutes here saves days of returns later.
Identify your primary route: If you spend 70% of time on foot or stairs, backpack wins. If you spend 70% rolling through terminals or clinics, a roller justifies the bulk.
Measure your pet in three dimensions and check against the carrier's actual interior specs (not just the pet weight range, which is nearly useless for fit prediction).
Prioritize load path: For pets over 12 pounds or commutes over 30 minutes, a hip belt is non-negotiable. Single-shoulder designs, no matter how stylish, will cause pain.
Test load-bearing features in person: Walk stairs, simulate a car ride (seat the carrier safely), and wear it on your commute before finalizing a purchase. Your shoulders and lower back will thank you.
Plan for temperament: An escape artist needs locking zippers and reinforced mesh. A noise-sensitive pet needs quiet closures and a privacy panel. Build these into your carrier profile before shopping.
Build a carrier ecosystem: One backpack for daily commutes, one sling or roller for travel. Multiple carriers across modes eliminate compromise and reduce the stress that bad fit creates for you and your pet.
Schedule acclimation training: Before your first real trip, let your pet spend 10-15 minutes in the carrier while stationary, then during short car rides. Familiarity reduces panic and panting mid-session.
The goal isn't just to get your pet from point A to point B, it is to arrive calm, ready, and without pain. Ergonomics isn't luxury. It is the difference between dread and doable.